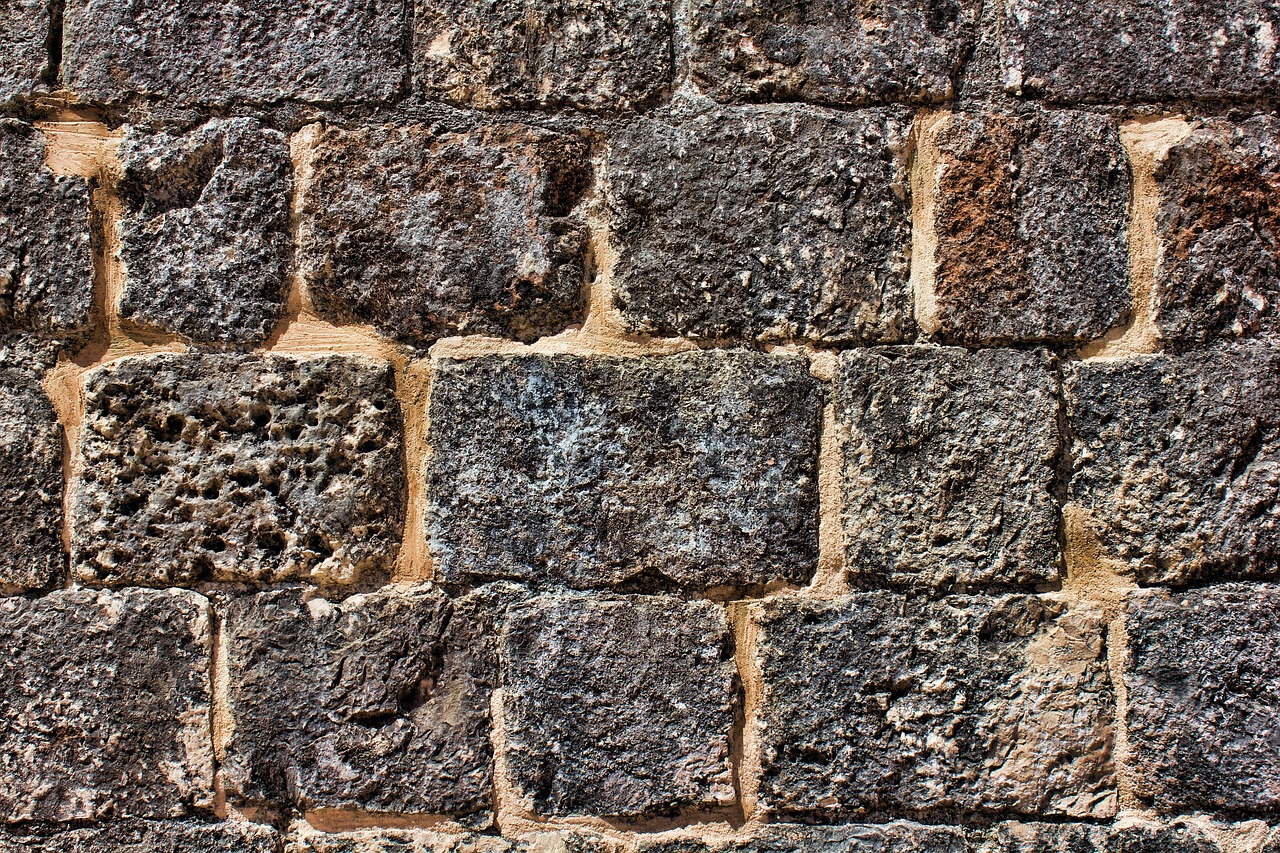
Many Australian homes, particularly those constructed on sloping terrain, depend critically on retaining walls. These structures not only improve the aesthetics of your house but also control water runoff and prevent soil erosion. Whether you enjoy do-it-yourself projects or want to work with experts like Lifestyle Concepts Landscaping, this guide will offer you basic ideas and methods for creating solid retaining walls.
Retaining Walls: Understanding
A retaining wall is a construction used to restrain soil. It is usually used to construct level sections on sloped ground, assist garden beds, and enhance the general landscape design. Retaining walls can be built from stone, concrete, wood, and brick, among other materials. Every material has its advantages, so you may choose based on your own requirements and tastes.
Scheduling Your Retaining Wall
You should carefully plan your retaining wall before beginning construction. Here are some things to consider:
- Evaluate the Site: Find the spot requiring the retaining wall. Consider drainage, slope, and soil type. Knowing these components will enable you to build a wall strong enough to resist the weight of the soil.
- Building Codes and Permits: Different regions have specific building rules and restrictions. Check with your local council to learn the criteria. You might require a permit for walls higher than a specified height.
- Design Your Wall: Sketch a concept of your retaining wall. Choose your height, width, and materials. Ensure your design includes appropriate drainage systems to prevent water from building up behind the wall.
Fundamental Methods for Retaining Walls
To ensure the strength and longevity of a retaining wall, proper execution is essential. Here are some fundamental approaches:
1. Appropriate Base Preparation
Your retaining wall’s base forms its foundation. A well-prepared base will provide stability and prevent wall movement. Here’s how to accomplish it:
- Dig a Trench: Dig a trench deep enough to allow the base material and the first course of blocks. The trench should be at least twice the width of the wall blocks.
- Lay Base Material: Lay crushed stone or compacted gravel in the trench to create the base material. This should be at least six inches deep. Compact it thoroughly using a motorised plate compactor or hand tamper.
2. Guarantee Excellent Drainage
Effective drainage is essential to prevent water pressure from building up behind the wall, which can cause wall failure. Here are some drainage tips:
- Install Drainage Pipes: Install perforated drainage pipes running parallel to the wall at its base. Ensure the pipes slope slightly so water can drain away from the wall.
- Backfill with Gravel: Backfill with gravel or crushed stone behind each layer of the wall. This material allows water to pass through and reach the drainage pipes.
3. Constructing the Wall
Follow these guidelines for arranging the stones or blocks to create a strong structure:
- Begin with the Base Course: The most crucial row of blocks is the first one. After setting each block on the compacted base material, make sure they are level. Verify accuracy using a level.
- Stagger Joints: Stagger the joints between blocks to build additional strength. The seams between blocks on one row shouldn’t align with those on the row below.
- Layer and Backfill: Lay each row and backfill with gravel, compacting it as you go. This enhances drainage and provides additional support for the wall.
4. Reinforcement
Taller walls might require reinforcement to improve stability. Here are some reinforcement methods:
- Geogrid: Made from synthetic material, geogrid is used to strengthen soil. Lay geogrid extending back into the slope between several layers of blocks. This prevents outward movement and strengthens the wall.
- Tie-backs: Installed deeply into the ground behind very high walls, tie-backs (usually steel rods or cables) provide additional support.
Finishing Touches
Add finishing details once your wall is constructed to improve its appearance and functionality:
- Capstones: Place capstones on top of the wall for a finished look. Capstones also protect the wall from weathering.
- Plantings: Line the top and base of the wall with shrubs, flowers, or ground cover plants. This blends the structure into the landscape.
- Lighting: Consider installing outdoor lights along the wall to highlight features and provide nighttime safety.
Hiring Experts
Although constructing a retaining wall is a fulfilling do-it-yourself project, it can also be challenging and time-consuming. Hiring experts like Lifestyle Concepts Landscaping can save you time and ensure a high-quality outcome. They possess the skills and knowledge required to manage difficult topography and design specifications.
Conclusion
Constructing a robust and long-lasting retaining wall requires careful planning and appropriate materials and methods. Knowing the fundamentals will enable you to accomplish a beautiful and functional addition to your landscape, whether you handle the project yourself or call in experts. Remember, a well-made retaining wall not only increases the value of your house but also offers practical benefits by effectively controlling soil and water.
So start converting your outside area with a gorgeous retaining wall by rolling up your sleeves or calling the professionals!

